How to Update Created Pages

LPagery Pro lets you update all your created pages very easily. If you make a change on your template page, you can update all pages that were created with that template page with the click of a button.

Information #

You can only update pages that have been created after you upgraded LPagery Pro to version 1.2.0 or above.

How to Make changes to the template page: #

1. Navigate to LPagery Pro

2. Create your pages like you used to

Screenshot of: Create your pages like you used to

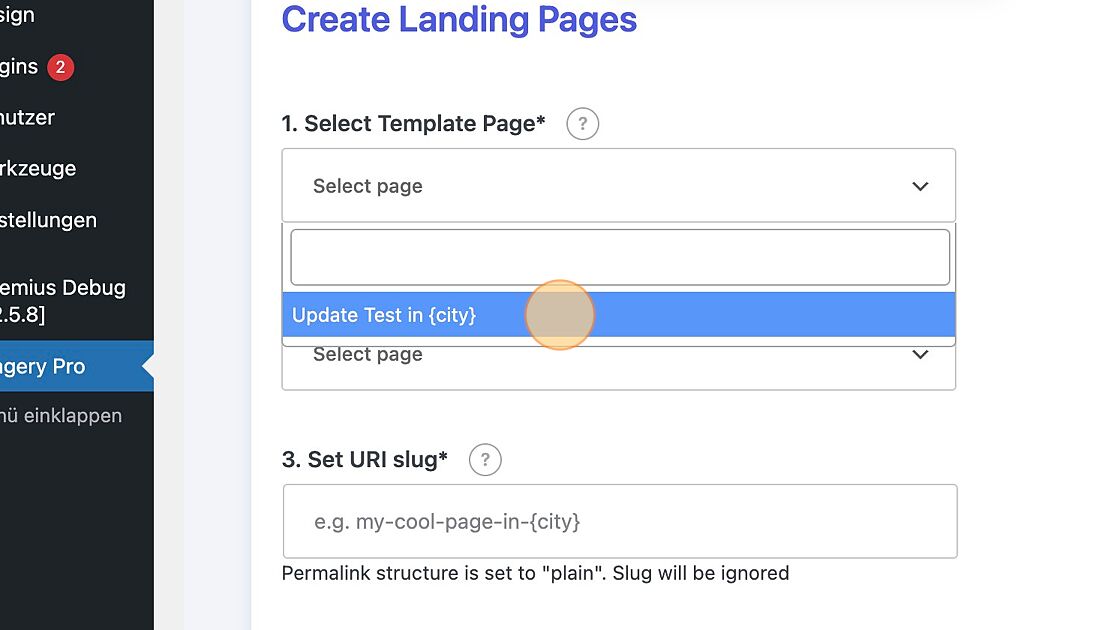
3. Select the template page
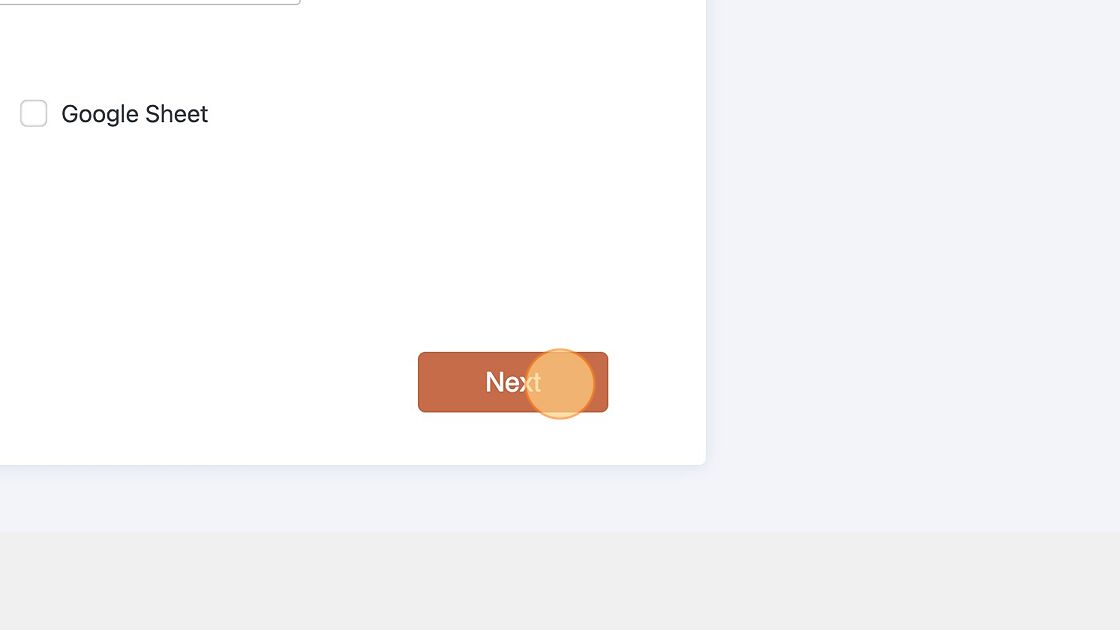
Screenshot of: Select the template page

4. Click "Next"

Screenshot of: Click "Next"

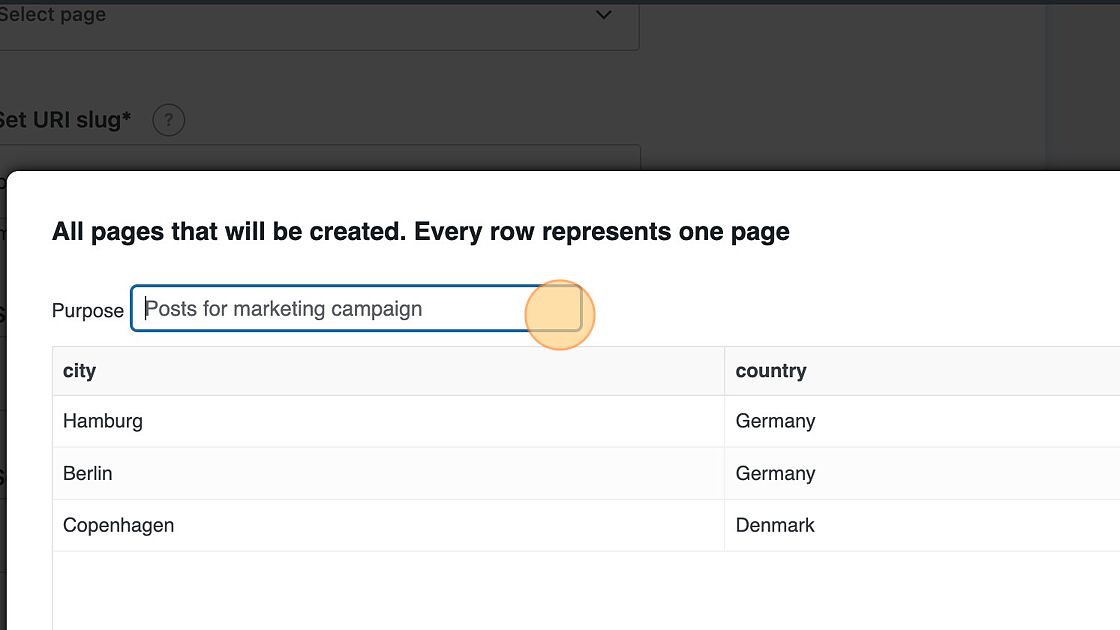
5. For better structure you can assign a purpose to the created pages, which will let you navigate through all your pages screated with LPagery more easily

Screenshot of: For better structure you can assign a purpose to the created pages, which will let you navigate through all your pages screated with LPagery more easily

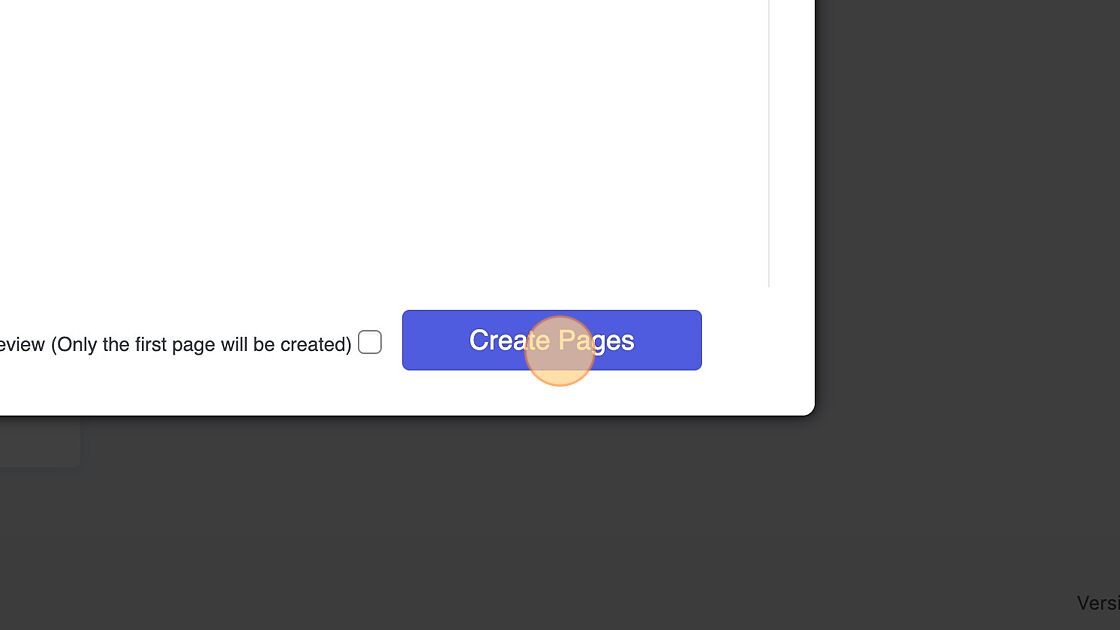
6. Click "Create Pages"

Screenshot of: Click "Create Pages"

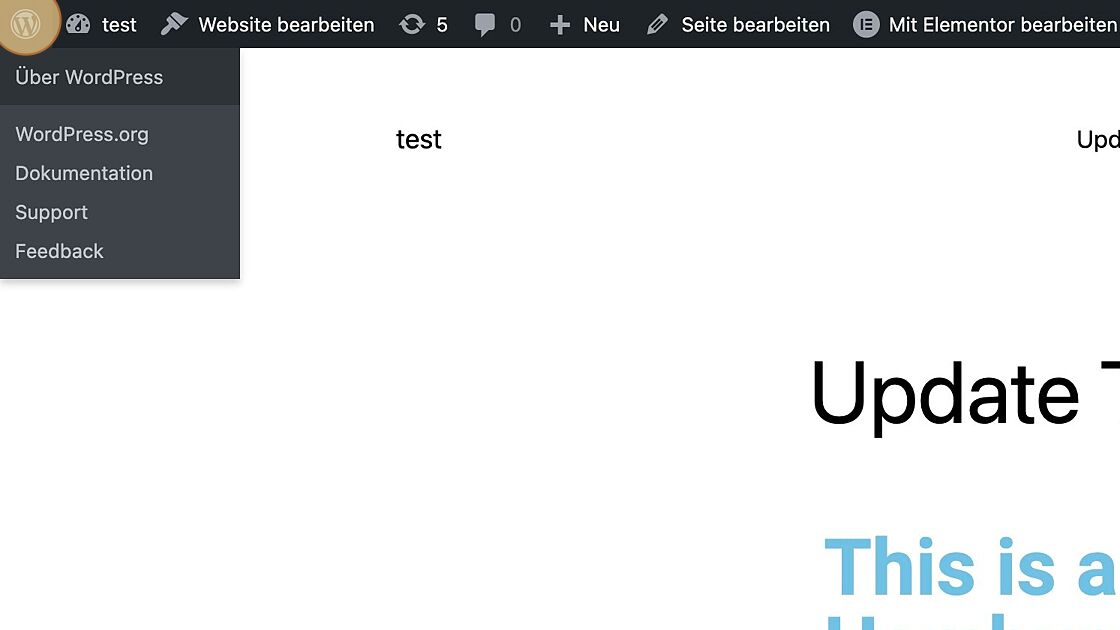
7. This is a created page before updating it

Screenshot of: This is a created page before updating it

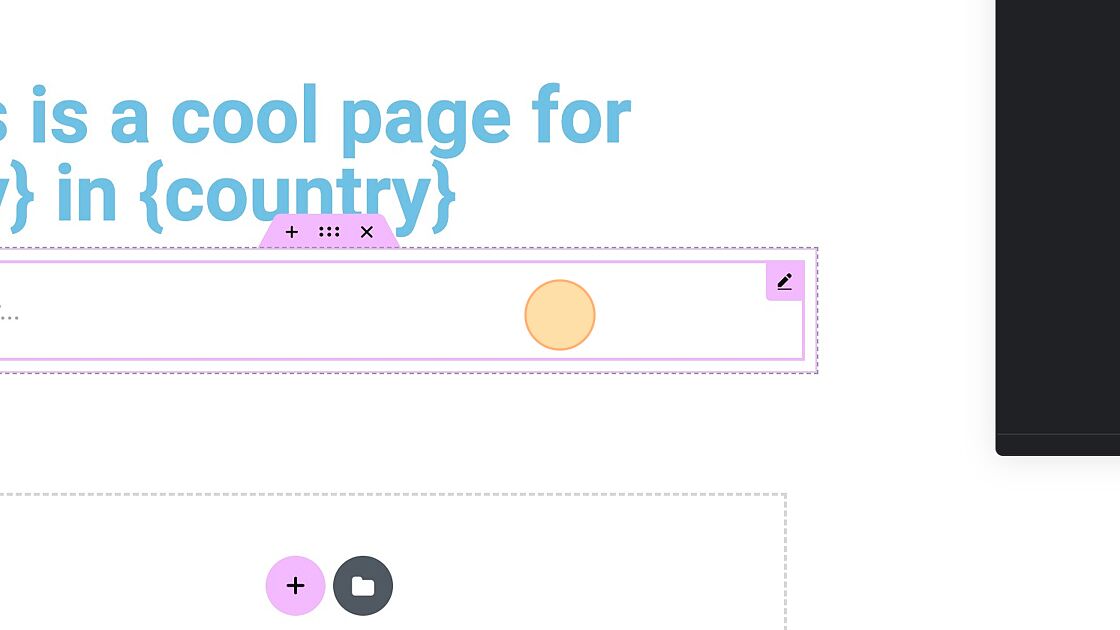
8. To update the design of the created pages, edit your template page you used to create the pages

Screenshot of: To update the design of the created pages, edit your template page you used to create the pages

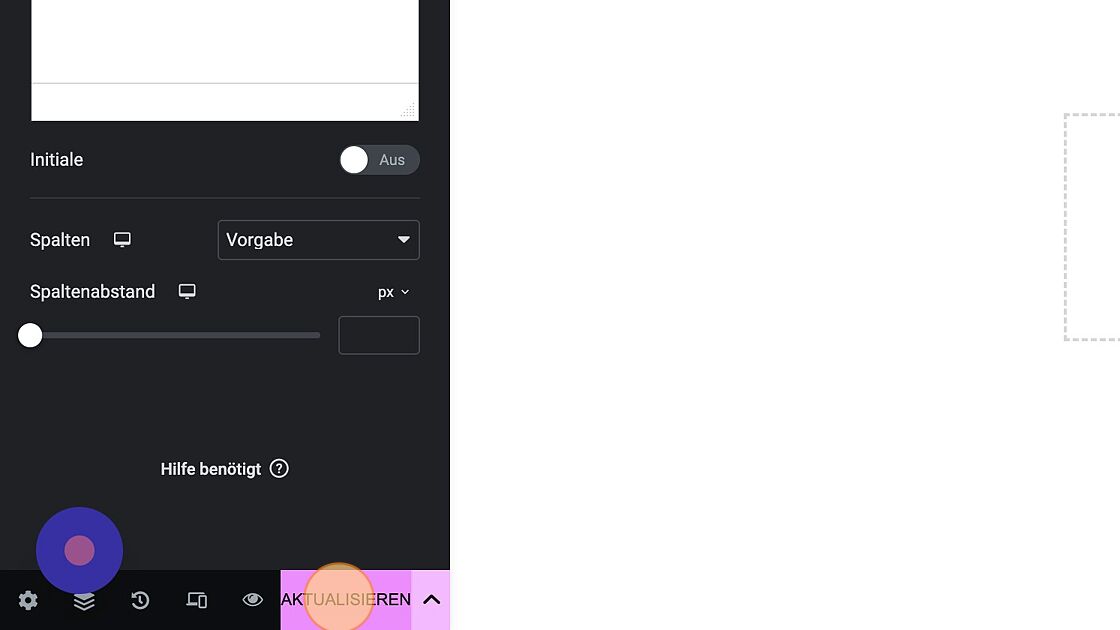
9. In this case we are adding a text field to the page.

Screenshot of: In this case we are adding a text field to the page.

10. Confirm your changes

Screenshot of: Confirm your changes

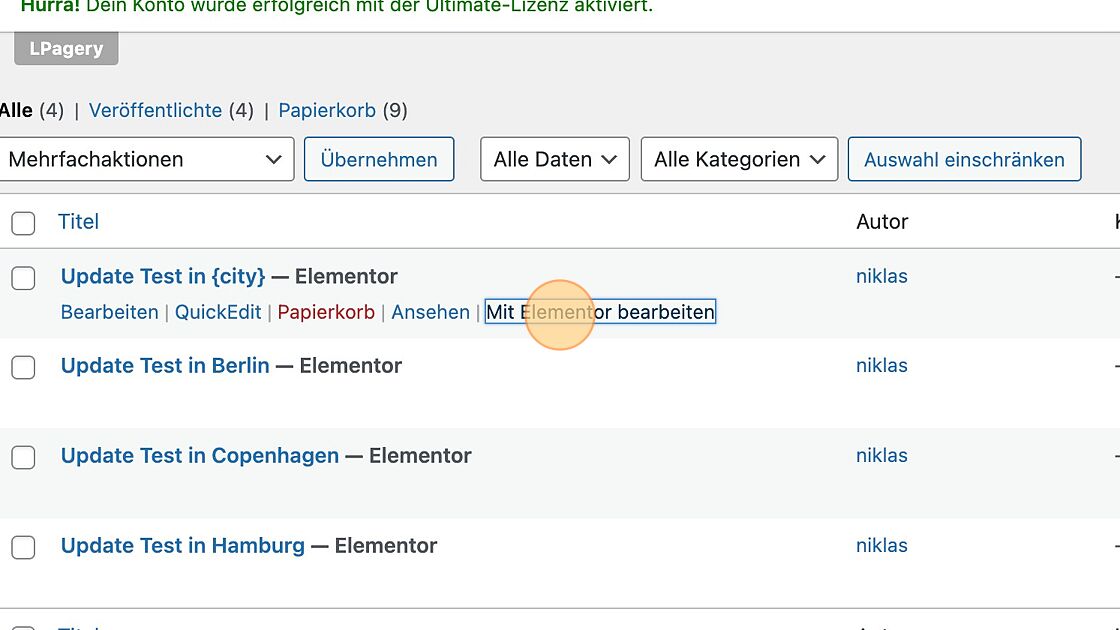
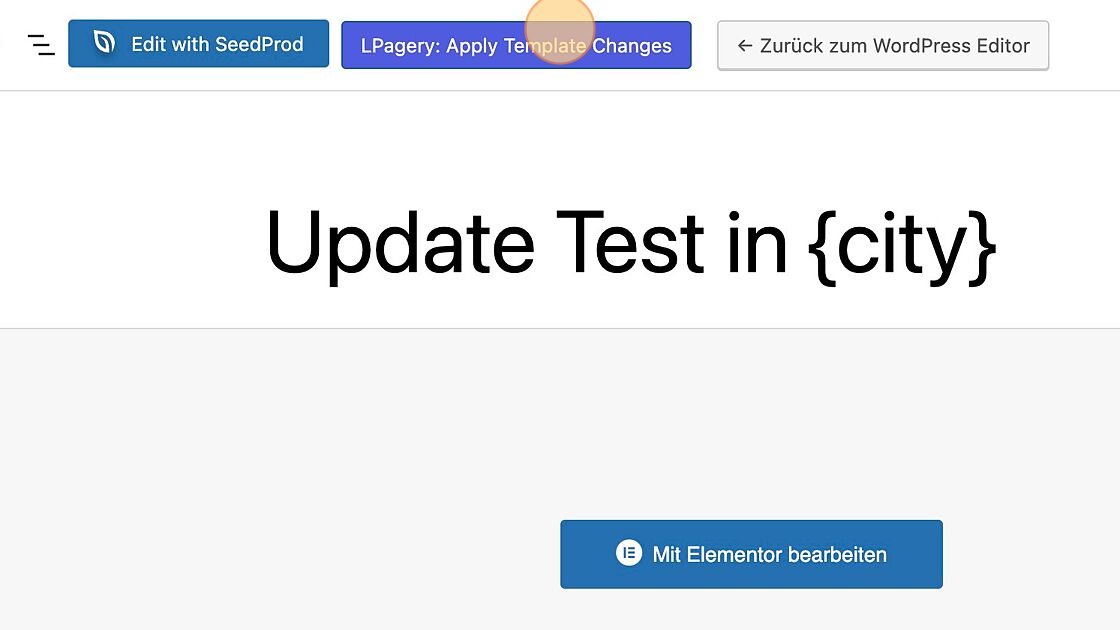
11. Head back to the default page settings in WordPress

Screenshot of: Head back to the default page settings in WordPress

12. Click "LPagery: Apply Template Changes" to apply the changes made to the template page to all pages that have been created with that template page.

Screenshot of: Click "LPagery: Apply Template Changes" to apply the changes made to the template page to all pages that have been created with that template page.

13. Click "Update Pages"

Screenshot of: Click "Update Pages"

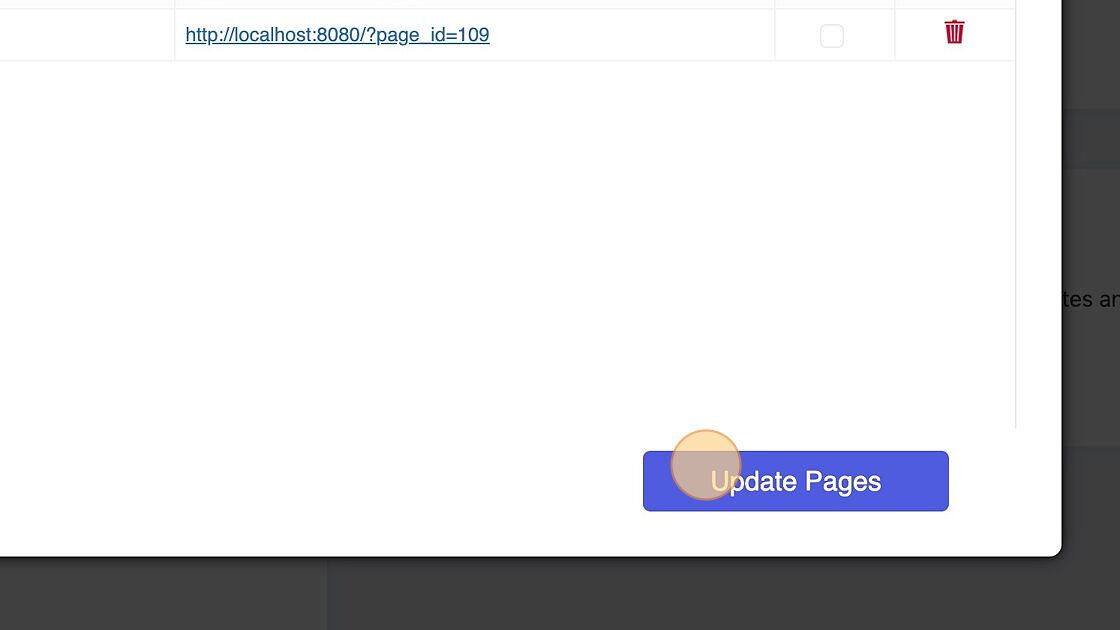
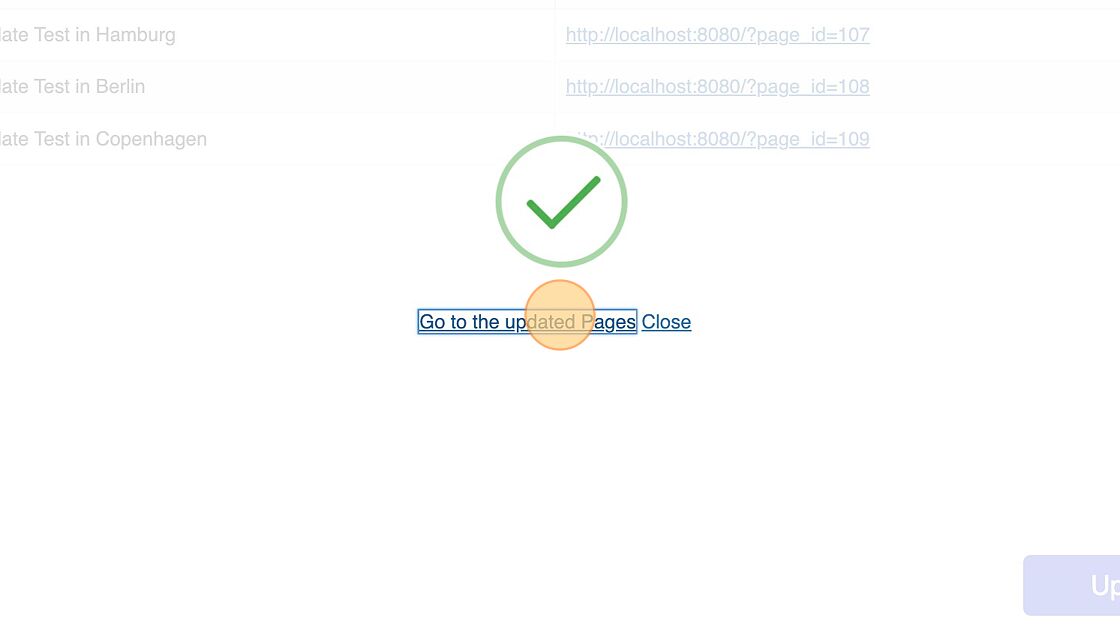
14. Now all pages you selected are updated accordingly to the template page

Screenshot of: Now all pages you selected are updated accordingly to the template page


How To Make Changes to The Data and Settings of The Pages: #

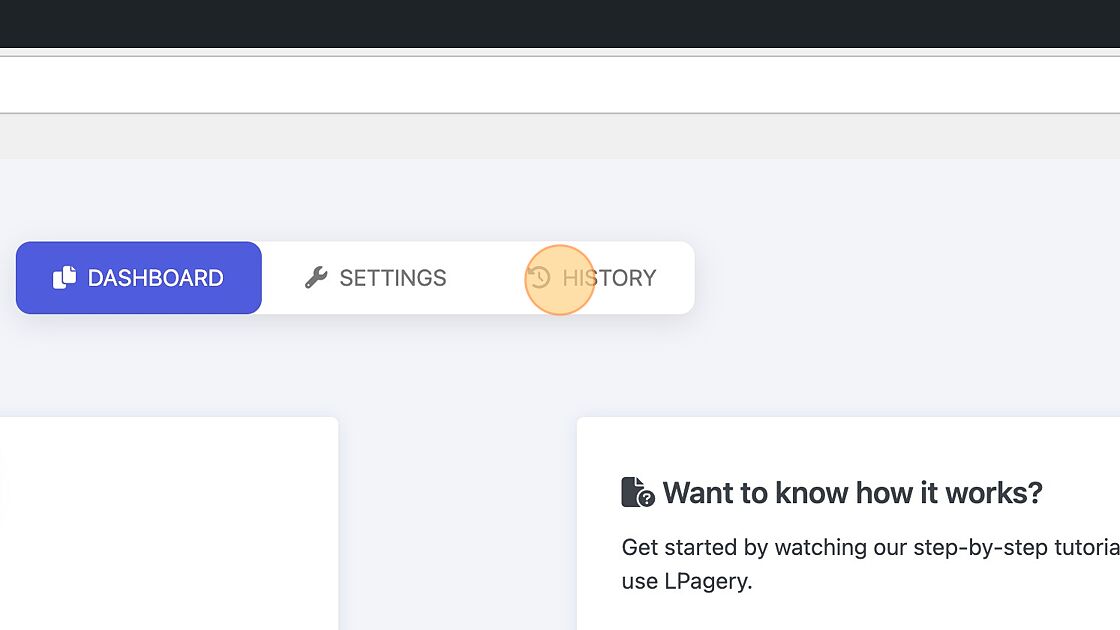
1. Navigate to your LPagery Dashboard

2. Click "HISTORY"

Screenshot of: Click "HISTORY"

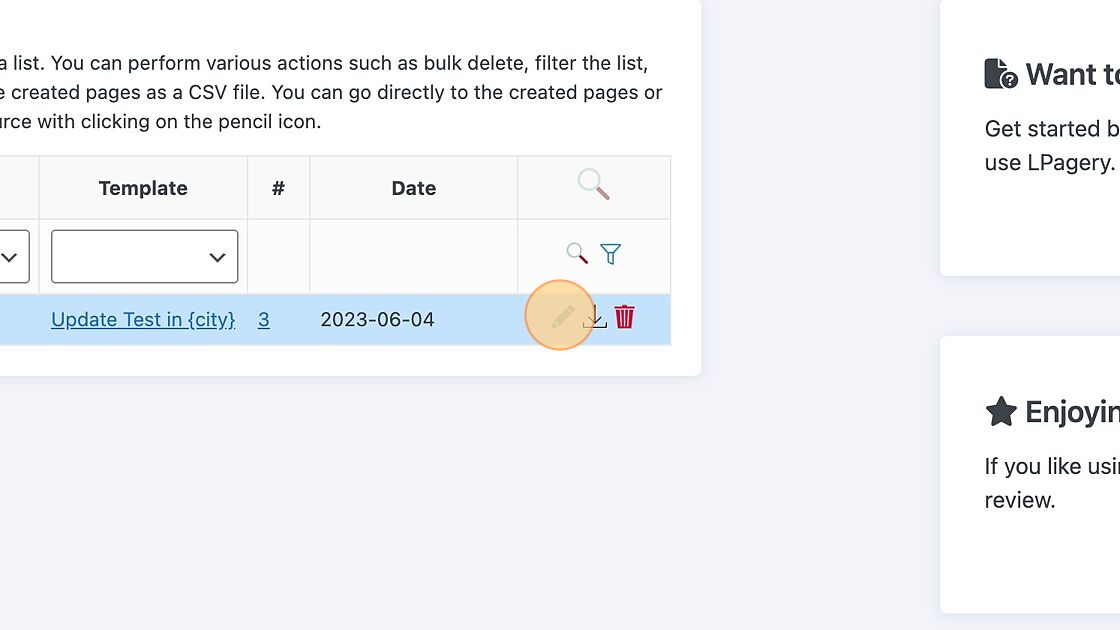
3. Click the edit icon next to the pages you want to update.

Screenshot of: Click the edit icon next to the pages you want to update.

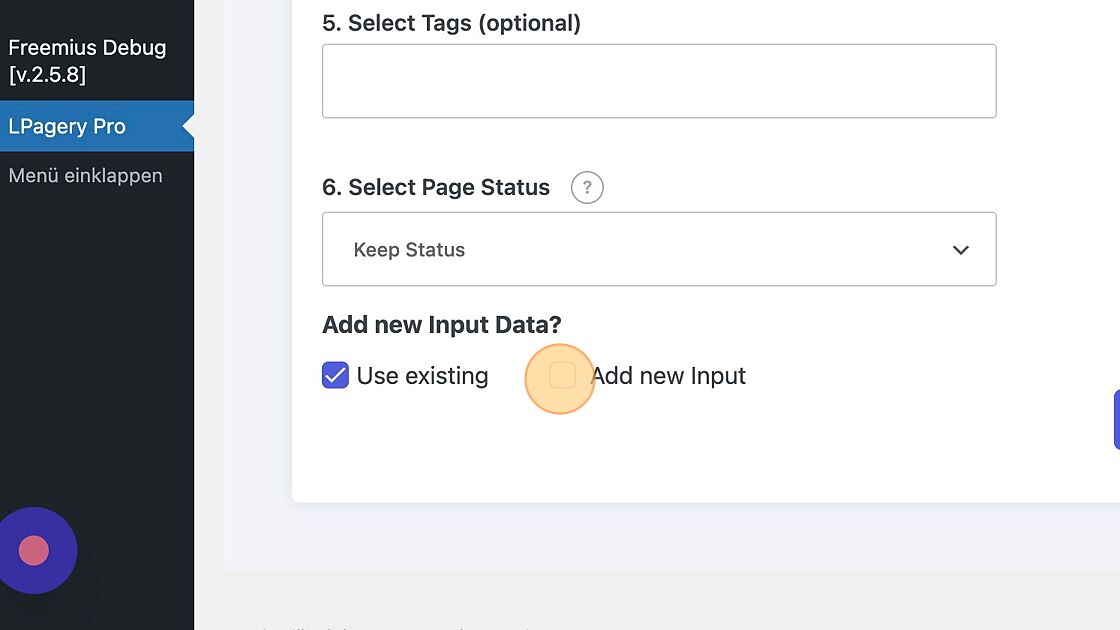
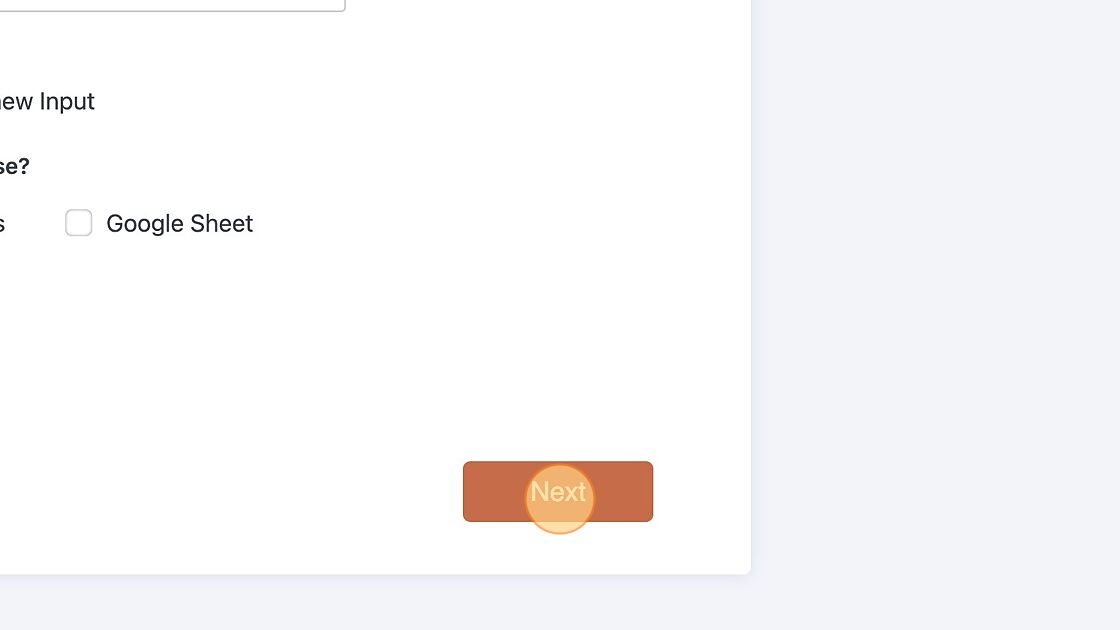
4. Change the settings of the pages like category, parent page etc. and click "Add new Input" to upload a new source file.

Screenshot of: Click "Add new Input" to upload a new source file.

5. Upload your updated source file and click "Next"

Screenshot of: Upload your updated source file and click "Next"

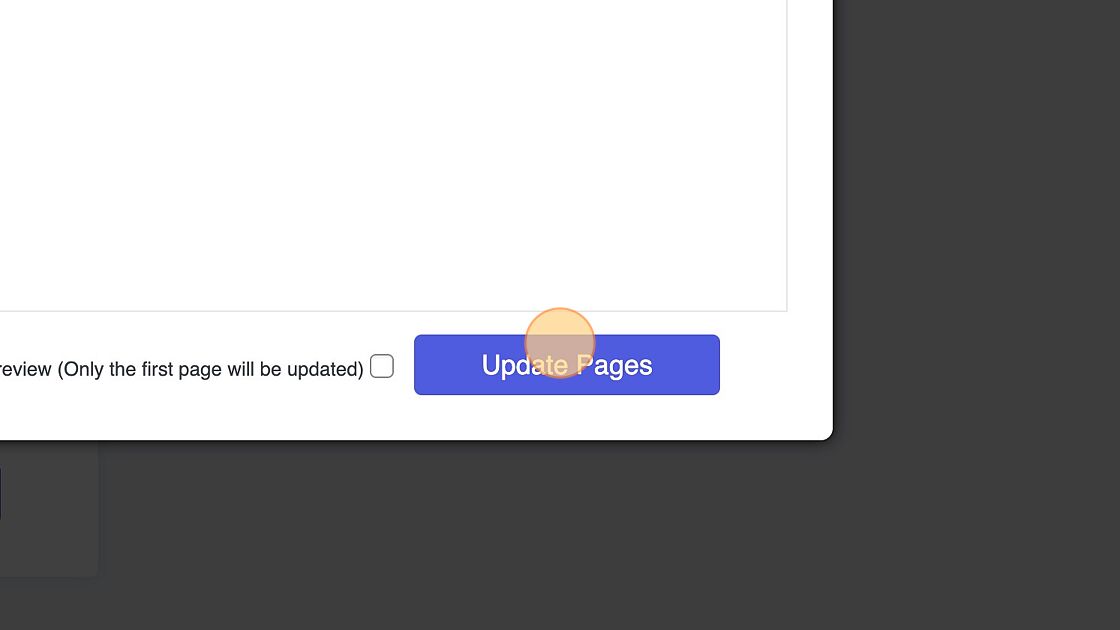
6. Click "Update Pages"
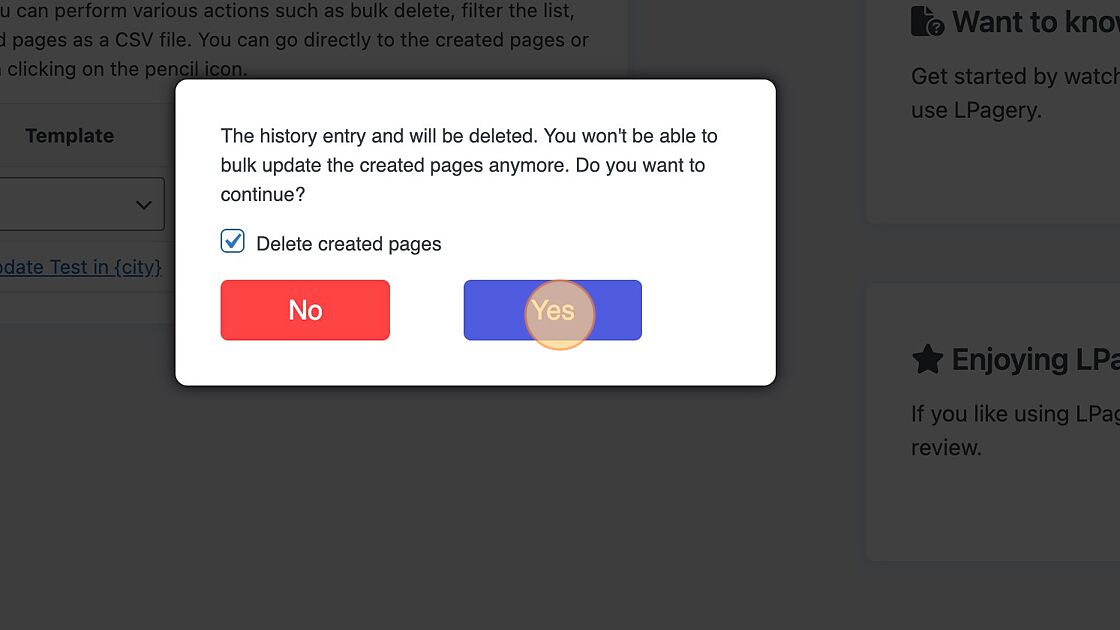
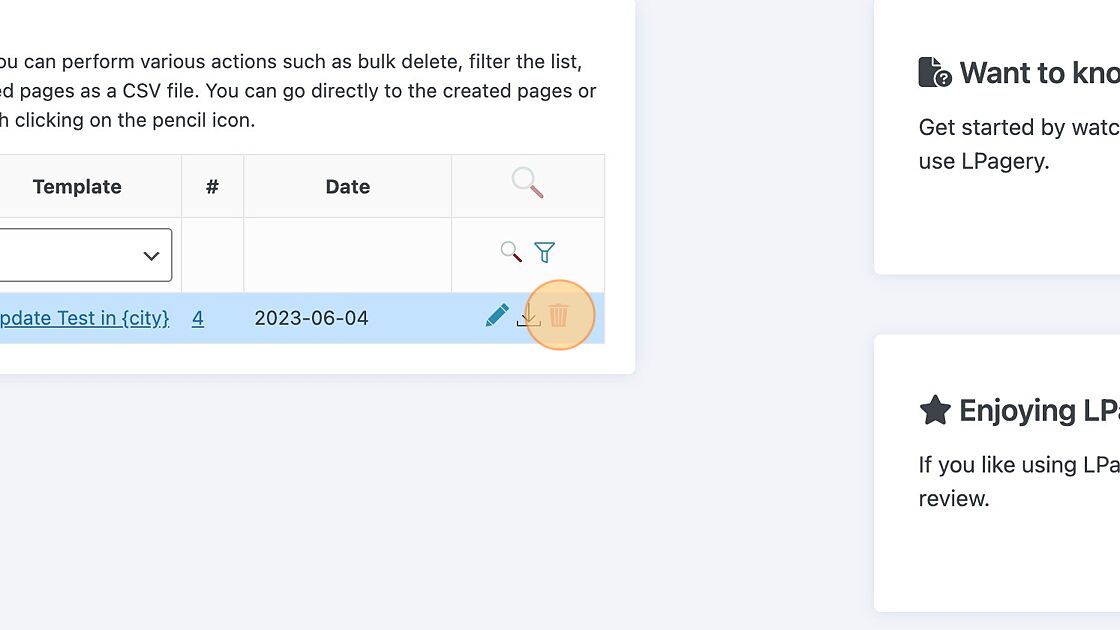
Screenshot of: Click "Update Pages"


How To Bulk Delete Created Pages: #

1. Click "HISTORY"

Screenshot of: Click "HISTORY"

2. Click the delete icon.

Screenshot of: Click the delete icon.

3. Click "Delete created pages"
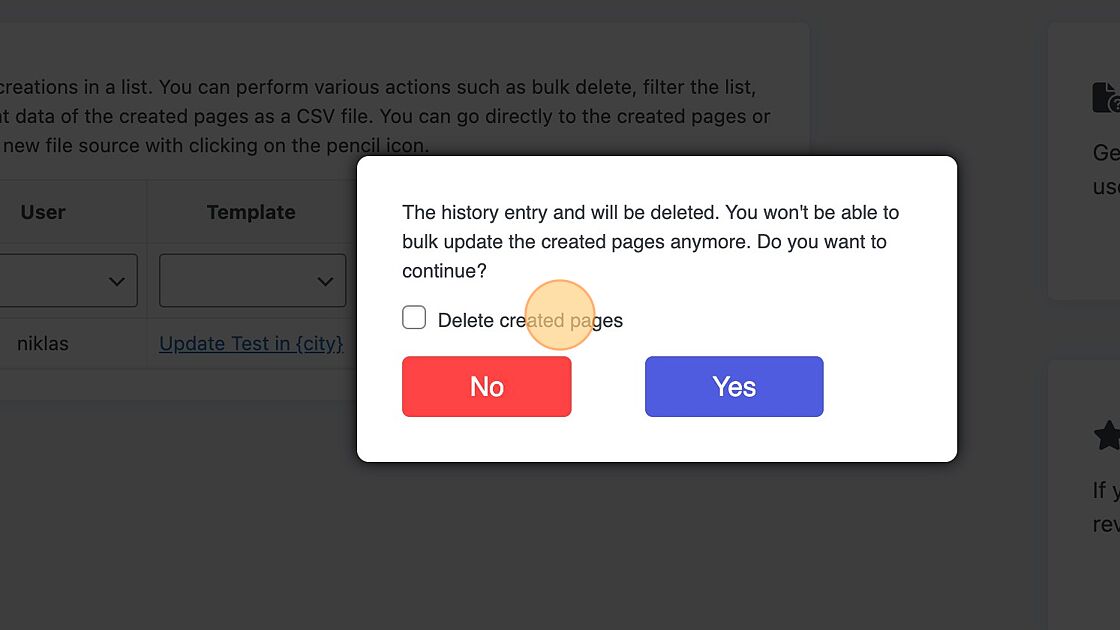
Screenshot of: Click "Delete created pages"

4. Click "Yes"

Screenshot of: Click "Yes"


Pro Feature

When to Use This Feature

Use Examples